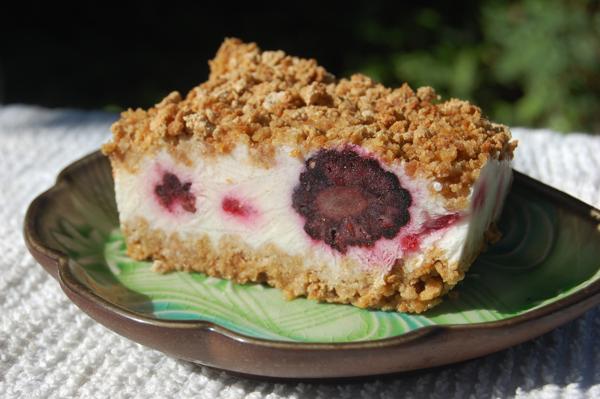
We’ve all been told a million times how breakfast is the most important meal of the day, the one that literally fuels our body as we set off to tackle traffic, work, school or whatever else the morning throws at us. But in our rush to get out the door, it’s all too easy to skip what seems like a culinary inconvenience.
And here’s where this week’s recipe arrives to save the day. Cereal and yogurt are simple go-to’s when we’re running short on time and motivation, but they can get old fast. Enter the Frozen Yogurt Breakfast Bar. This was a staple in my wife’s family when she was growing up. With five kids to dress, feed and get out the door, any shortcuts were welcome and they swore by this one. If my wife’s memory serves, it was obtained decades ago from the side of a Grape-Nuts box.
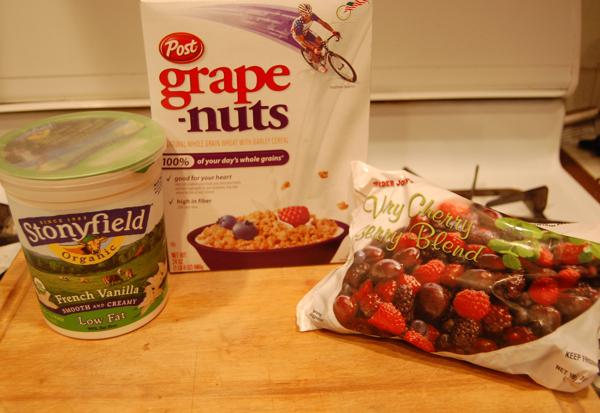
This recipe only involves three ingredients: The cereal, yogurt, and frozen fruit. The yogurt and fruit are spread between layers of the crunchy, whole-grain cereal, and the entire casserole dish in which its lain is put in the freezer overnight. In the morning, you are treated to a delicious, nutritious breakfast that just happens to seem more like a dessert when cut into bars. Of course, these don’t have to just be for breakfast. With the kind of heat we’ve been experiencing, they make a fine frozen snack any time of day. Here’s how to make it happen.
FROZEN YOGURT BREAKFAST BARS
(Yield: 6-8 servings)
- 3 cups Grape-Nuts cereal, with some in reserve if needed
- 32 ounces yogurt of your choice
- 3 cups frozen fruit of your choice
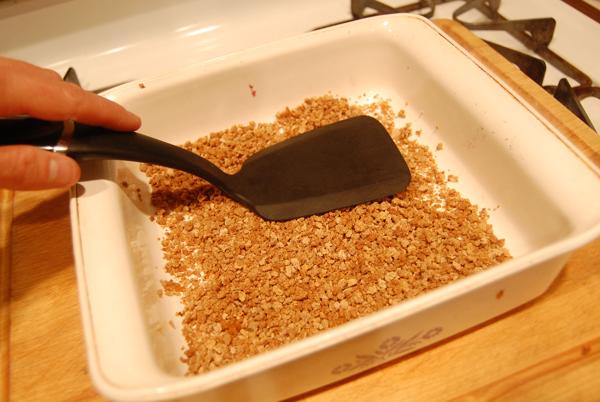
Step 1: Grab a 2-quart casserole dish, such as a square 8-inch by 8-inch one, and coat the bottom completely with a layer of the cereal.

Step 2: In a bowl, mix the yogurt and fruit. Frozen fruit works great here for its convenience and lack of extra liquid.

Step 3: Gently spread the yogurt evenly over the cereal.
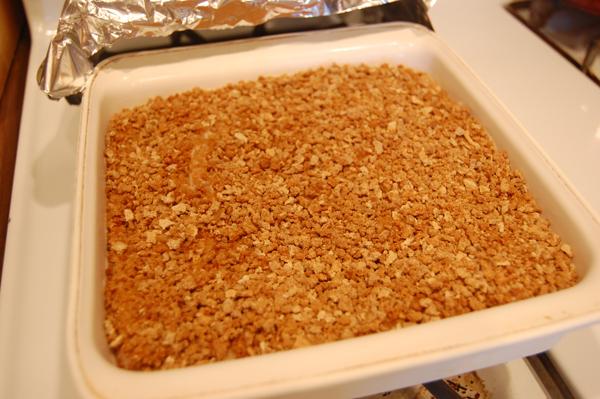
Step 4: Now cover the yogurt completely with the rest of the cereal, using extra if needed. Cover the dish loosely with foil and freeze overnight.
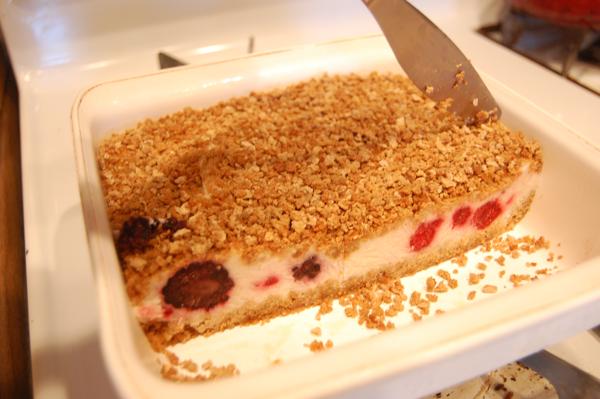
Congratulations: You’ve just made a healthy breakfast or snack for the following days to come. When ready to serve, let thaw for several minutes, cut into bars and serve (a fork makes eating this easier). Promptly re-freeze what’s left so it will again be ready when you are.
Source: iwanttocook.com (defunct blog)


