


“Don’t eat all of those, I need to take pictures tomorrow.”
“Maria, if I ate all of those, I would be throwing up.”
“I am just informing you, in case you go on a marshmallow bender.”

These were the words exchanged between my husband and I the night I made these marshmallows. This recipe makes an obscene amount of marshmallows. That being said, my husband absolutely loves these homemade marshmallows. So I feel that I had a right to be concerned.
I first made homemade ‘mallows 3 years ago. I actually made them with almond extract, and used way, way, way too much, because I love almond extract and forget that you shouldn’t use half a bottle. My husband still loved the crap out of them and always gets a childlike gleam in his eye whenever I make this recipe.
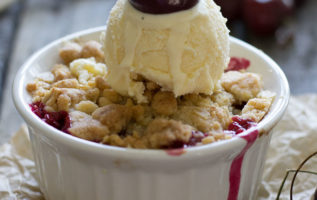
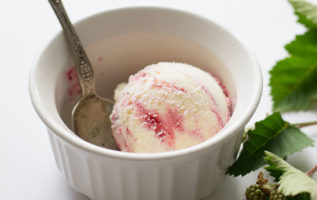
The greatest thing about these marshmallows is that they have so many applications. You can cut them large and have perfect s’mores. You can cut them small and mix them into hot cocoa if it’s winter, or ice cream if it’s summer. You can roast them and shove them gooily into your mouth or cover them in melted chocolate and sprinkles. And, of course, you can pop them plain as you pass by the bowl on the counter.

These are vanilla marshmallows, but as I alluded to above, you can substitute any kind of extract to make different flavors, or use vanilla beans instead of extract. (You may want to use less than 1 teaspoon if the extract is a stronger flavor.)
I happen to prefer leaving the marshmallows out for a day or so in an uncovered bowl, because it dries them out a bit and makes them easier to work with. But if you want them to stay super moist, just put them in a covered container and they’ll last for at least a week.
I’m going to give you an awesome recipe to use these in next week, but while you’re waiting, you can always try this Sweet Potato, Blackstrap, & Whiskey Ice Cream with Torched Marshmallows or maybe these S’mores Marshmallow Pops. But, really, the sky is the limit.

HOMEMADE VANILLA MARSHMALLOWS
- 2 tablespoons vegetable shortening, divided
- 1 cup cold water, divided
- 3 quarter-ounce packets (21 grams) granulated gelatin
- 2 cups (400 grams) sugar
- 1 cup (330 grams) light corn syrup, divided
- 1 teaspoon of vanilla extract
- ⅛ teaspoon salt
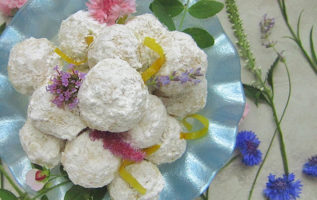
- ½ cup (60 grams) confectioners’ sugar, plus more for dusting
- Dab some vegetable shortening on a paper towel. Grease the sides and bottom of a 13×9-inch pan with the shortening and set aside.
- Place ½ cup cold water in a large heatproof bowl (this will be used as a double boiler later, so choose an appropriate bowl!). Sprinkle gelatin over the top of the water. Don’t stir it; the gelatin will soak up the water.
- Fill a medium saucepan halfway with water and place on stove over medium-low heat to bring water to a simmer.
- Meanwhile, in another medium saucepan over medium-high heat, stir together the sugar, ½ cup (165 grams) corn syrup, and remaining ½ cup water. If you have a candy thermometer, clip it on the side of the saucepan.
- Put the remaining ½ cup (165 grams) of corn syrup in the bowl of an electric stand mixer fitted with a whisk attachment.
- When water is simmering in your first pan, place the bowl of gelatin over it and stir with a spatula until the gelatin melts. Remove from pan and turn off the heat. With mixer on low speed, slowly pour the gelatin into the corn syrup. Keep the mixer on low while you finish the sugar syrup.
- By this time, the sugar mixture should be about ready, in “soft ball” stage (between 235-240°F; it will have become transparent). When it gets to this stage, remove it from the heat and take out the thermometer. Return the saucepan to medium heat for 1 minute, then slowly pour the sugar mixture into the gelatin mixture, doing your best not to let the sugar syrup hit the sides of the bowl.
- Turn the mixer to medium-high for 5 minutes. The mixture will get white and fluffy. Add vanilla extract and salt, then turn the speed all the way up for 1 minute.
- Quickly pour the marshmallow fluff into your prepared pan and smooth the top with a spatula. Sprinkle the top with sifted confectioners’ sugar. Chill for at least 3 hours, uncovered.
- Using a knife, loosen the edges of the marshmallow slab and remove it with your hands onto a cutting board lightly dusted with confectioners’ sugar.
- Sift ½ cup of confectioners’ sugar into a bowl. Cut the slab into desired size/shape with a sharp knife, pizza cutter, or cookie cutter, rolling each square/shape in confectioners’ sugar until no longer sticky on the edges. Store marshmallows in an air-tight container for up to a week.
- This recipe makes a 13×9 inch slab of marshmallow about 1-inch thick. You can cut them as large or small as you want. If you cut them into 1-inch cubes, you’ll get about 100-120 marshmallows, or you can cut them small to get 300-400 mini marshmallows.


