


 There is so much to learn about eggs! While this post is longer than the other ingredient posts, there is still a ton more information out there, so if you have specific questions, leave them in the comments! While I enjoy eggs in many savory applications at breakfast, lunch, and dinner, eggs also play an extremely important role in dessert. You can kind of think of eggs as the glue that holds everything together, but they also help to flavor, leaven, and thicken desserts.
HOW EGGS ARE MADE
Listen, there is a lot of science here, because biological systems are complicated, but I’m going to make it really simple for you. You know how a human woman has eggs, and if she doesn’t get knocked up, she bleeds out her unfertilized egg every month? It’s kind of the same with hens, except their eggs are way bigger, and chickens shed their eggs like every day. Which means they are probably totally PMSing all the time. Just saying. The yolk moves down out of the hen’s ovary, developing egg whites on the way down. In about 20 hours, the shell is formed to protect that little guy. But if the yolk wasn’t fertilized by some random cock, er, rooster, that egg is like “I’m outtie.” And we get to eat it, instead! If we did the same to human eggs, it would be really weird.
EGG ANATOMY
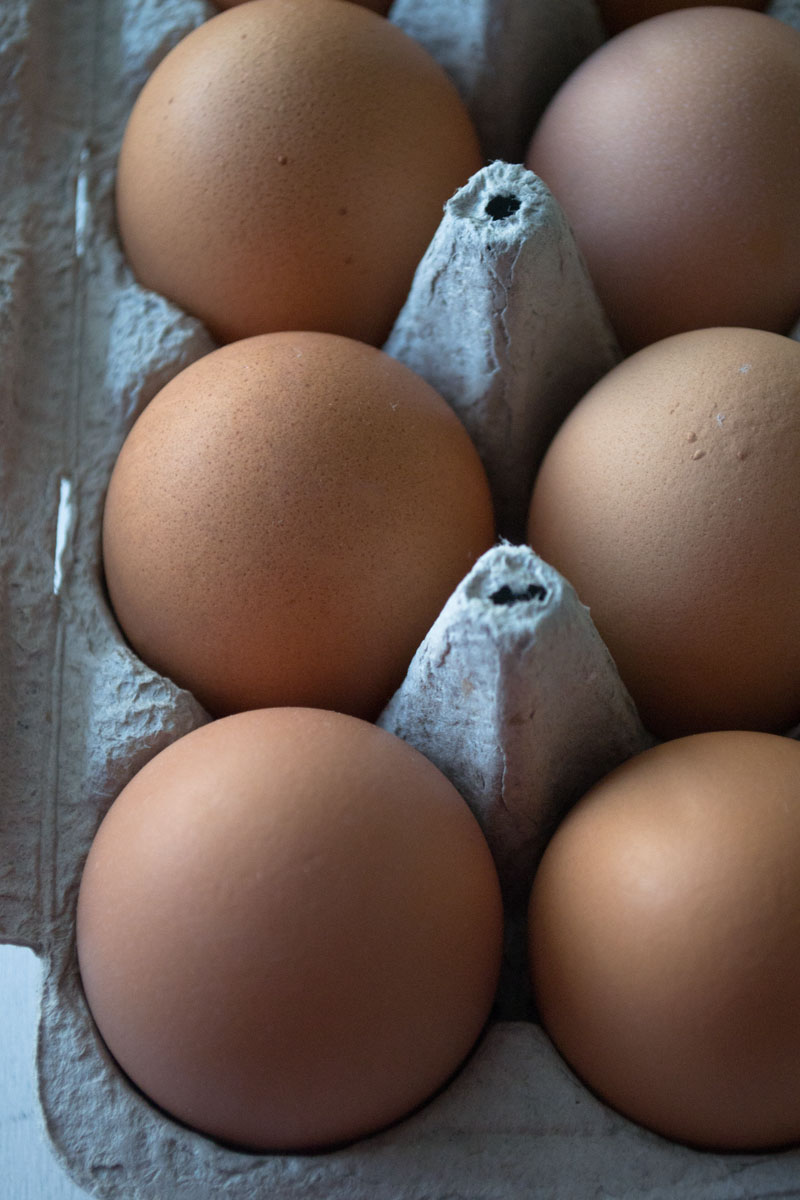
Shell: We’ll start with an easy one. The egg shell is the egg’s container. It is fairly porous, which means that it can pick up on flavors and smells from its environment. There are a couple membranes between the shell and the egg white, too. Other than protecting what’s inside, the shell is basically useless in a culinary sense.
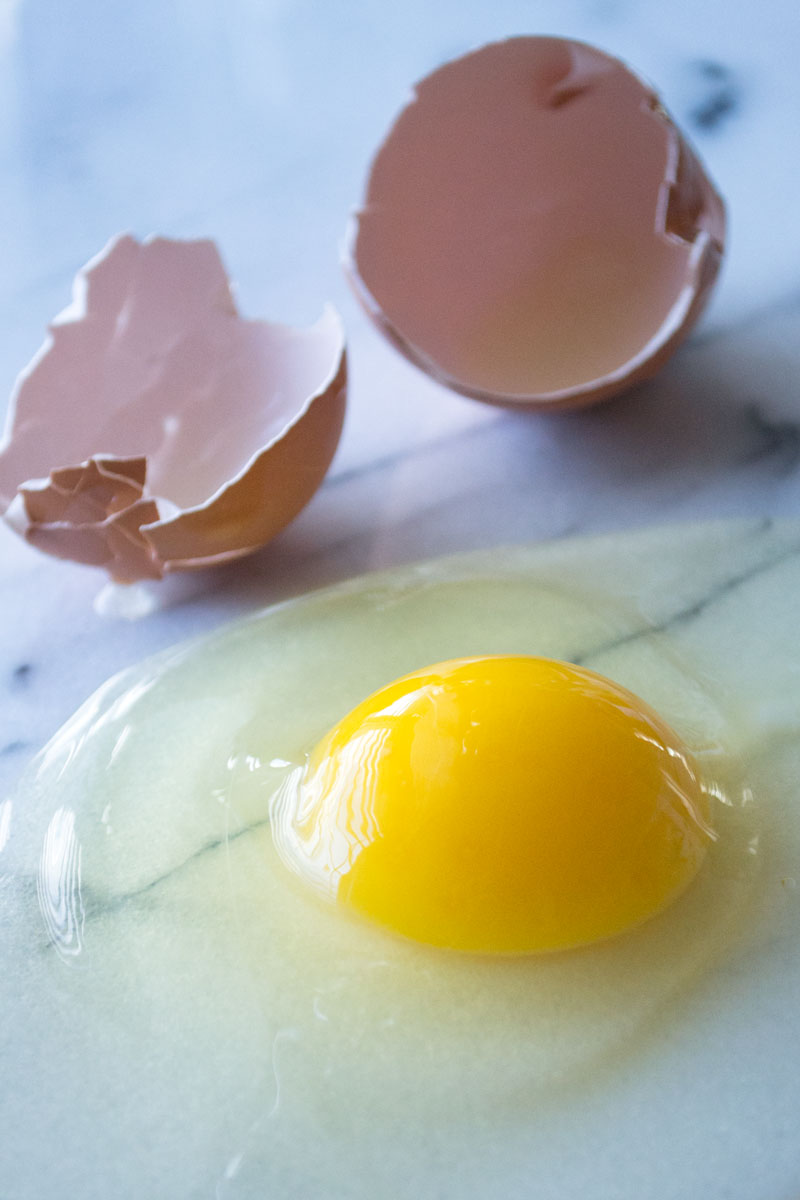
White (Albumen): The majority of the egg is egg white, or albumen. This is the thick, clear portion of the egg that surrounds the yolk. It is thicker toward the yolk and thinner near the shell, but it will thin out the older the egg gets. Egg whites are full of protein, but they are not very flavorful, which is why we should all boycott scrambled egg whites for breakfast. Egg whites coagulate and turn white when heated to 144-149°F.
Yolk: The yolk is the round yellow (or orange) orb in the middle of the egg, and it holds all the egg’s fat and lots of vitamins and minerals. Lecithin, which helps in emulsification, occurs naturally in the egg yolk. The runny part of the yolk is held in by a thin casing called the vitelline membrane. The yolk becomes solid around 149-158°F, a higher temperature than the egg whites, which is why we can have our eggs served sunny side up. Yolk color varies based on the diet of the hen, so don’t fret if your egg yolk is a little darker or lighter than expected.
Chalazae: The chalazae are a part of the egg white that hold the yolk in place. These white strings run from the top and bottom of the shell to the membrane of the egg yolk. The chalazae won’t screw up your efforts to whip your egg whites, and there is no need to get rid of them or strain them out!
Air Cell: At the bottom of the egg, there is an air pocket that grows as the egg ages. This will help you determine how old your egg is (see below).
TYPES OF EGGS
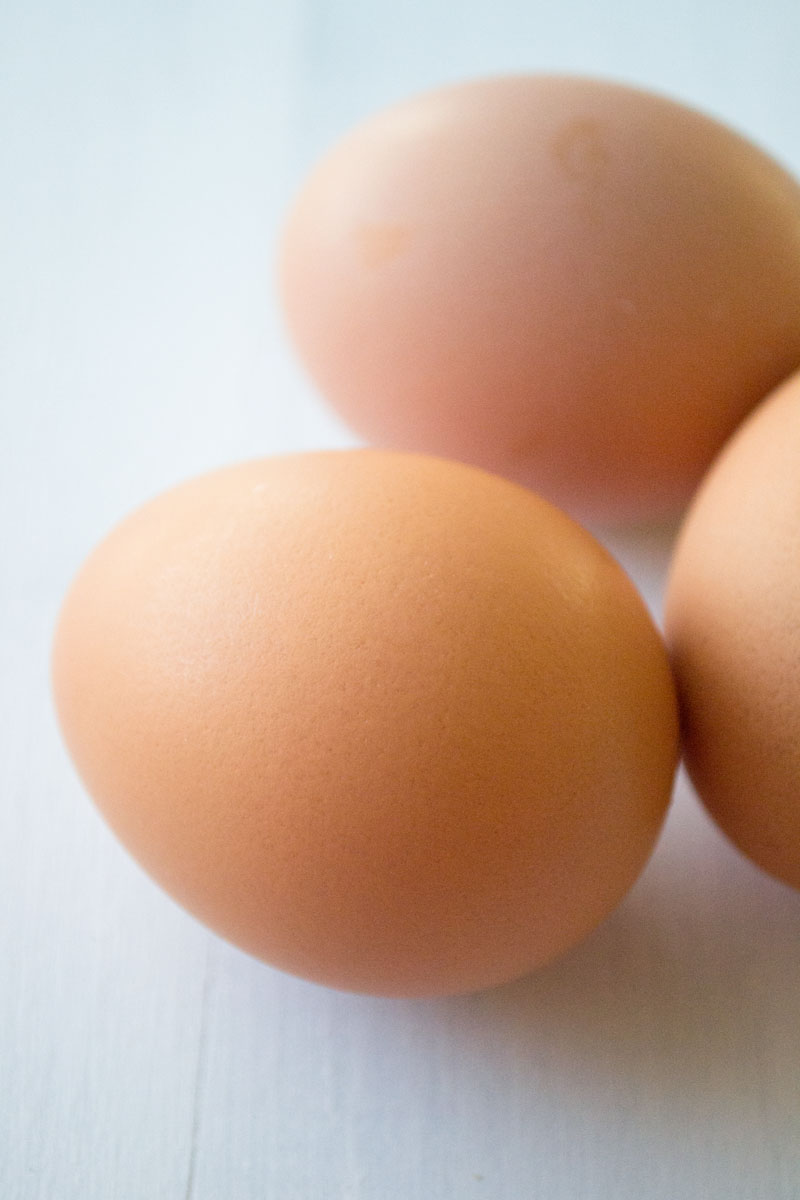
Brown vs. White The color of your egg shell makes no impact on its flavor, and one is not better than the other. Brown eggs are not somehow “healthier.” The difference comes from the breed of the hen who laid the egg!
Grade AA, A, or B: Egg grades are based on a lot of different criteria, but the lower the grade, the more the egg white “spreads” and the flatter the yolk. Any of these grades are fine for baking, but I prefer to buy Grade AA or A, because I can use them in non-baking applications, as well.
Cage-Free: This means the hens that produce these eggs are not kept in cages, but are rather one the floor of the barn. Although “cage-free” sounds nice, the hens may still be in very cramped quarters, and the eggs can be laid in their own poop on the floor of the barn. It is best to research the farm who produces the eggs to know how the hens are treated.
Free-Range: If the hens are allowed to go outside (imagine that!), the eggs they lay can be called free-range. Whether or not they can roam freely between the barn and the yard depends on the farm. Again, researching or visiting the farm where these eggs come from will give you more insight into the hens’ treatment.
Organic: Organic eggs come from hens who eat organic feed and don’t get vaccines or antibiotics. Organic eggs are not necessarily cage-free or free-range (although they often are), but they do follow certain guidelines set up by the USDA. Some farms use organic practices, but are not “certified” organic.
Pasteurized: Pasteurized eggs are heated to destroy bacteria. You might want to consider buying pasteurized eggs if you are going to use them for raw applications, like in an ice cream where you don’t heat the egg yolks first.
EGG SIZES
In baking, the default egg size is “large,” but eggs come in a variety of sizes from peewee (no, seriously) to jumbo. I have never bought or used any eggs other than large ones, because almost every recipe you will encounter will require large eggs. If you happen to pick up some farm fresh eggs and the sizes are variable, it is probably best to weigh your eggs for accuracy.
MEASURING EGGS
Weight of one large egg: 50 grams
Weight of one large egg yolk: 20 grams
Weight of one large egg white: 30 grams
If you are using standard large eggs, there is no real need to weigh them. If, however, your eggs’ sizes are variable, you might want to crack them into a bowl, lightly whisk the yolks and whites together, and weigh them, adding or removing egg as needed.
TESTING EGGS FOR FRESHNESS
To see how fresh your egg is, simply place it into a glass of water. As discussed above, the air cell in the egg gets larger as the egg ages. The larger the air cell, the more the egg will float. If the egg sinks and lays on its side, you’re golden. If it touches the bottom, but is more upright, it’s totally fine to use, too. If your egg floats, toss the sucker out. Slightly older eggs are not a bad thing for baking, and are sometimes even preferable to extremely fresh eggs, like when you are whipping egg whites for a meringue, since thinner egg whites whip up higher.
HOW TO CRACK EGGS
This seems like a silly section, but a lot can go wrong in the cracking process! Many people crack their eggs on the edge of a bowl, but this isn’t the most hygienic way to do it. The shells of eggs harbor lots of bacteria since they have touched all kinds of surfaces between popping out of the hen, making the trip to the store, and traveling your house. When you crack an egg on the edge of a bowl, the egg shell can get pushed into the egg, transferring all that gross bacteria into the egg. Plus, you’re more likely to get those shell bits that were shoved up in there in your cracked egg, and no one likes picking out egg shells.
To properly crack an egg, rap it once or twice against a flat surface, like the countertop or a plate. Then pull the two halves of the shell away from the crack and let the egg fall into the bowl. If you’re a real pro, you can do this with one hand. It just takes a little practice!
If you happen to get a bit of shell in your egg (woops!), you may have read that egg shell will stick to egg shell and that you can scoop the piece out with your broken shell. But remember what I said about all that bacteria crawling on the shell? Who wants that? It might be more difficult, but using a clean utensil, like a spoon or your clean fingers, to get that egg shell out is more sanitary.
Pro tip: Always, always, always crack eggs into a separate bowl rather than cracking them directly into your other ingredients. It is way easier to get accidental shells out of eggs than it is to dig them out of batter. It’s definitely worth cleaning the extra bowl.
HOW TO SEPARATE EGGS
There are tools you can buy for this purpose, but you don’t really need to spend any money to separate eggs. You can get the best egg separators for free, and you will never lose them in a kitchen drawer because they are right at the end of your arms! I always use my fingers to separate eggs. I am not a fan of moving the egg back and forth between the shell because of the aforementioned bacteria and because the shells have sharp edges that could easily break the yolk.
Instead, crack the egg over your fingers, with a bowl placed underneath to catch the egg whites. Gently move the egg back and forth between your hands, using your forefinger and middle finger in a scissor-like fashion to “cut” off any egg white bits that want to cling to the yolk. The chalazae will want to hang on for dear life. If it doesn’t come off easily, I just leave it, because pulling too hard could result in a broken yolk that drips down into your egg whites. Once all the egg whites are separated, place the yolks in a separate bowl.
Sometimes, a whole egg will slip through your fingers. Rather than trying to catch it and accidentally rip the yolk with your fingers, let the egg fall into the bowl intact, then fish the egg yolk out with your hand. If you happen to break a yolk at some point, quickly remove your hands from over the bowl, wash your hands off, and gently scoop out any trace amounts of broken yolk from the egg whites. If there is too much, or if the yolk got mixed in, you might just have to start over, since yolks in your egg whites can cause them to not whip up as well.
EGG STORAGE
While most health regulations in the United States say to keep eggs at or under temperatures of 45°F, many say that eggs are just as safe stored at room temperature. Personally, I keep my eggs stored in the refrigerator, mostly to keep them off my counters, where I would probably break them on accident. However, when I need to make a cake, I have been known to let eggs sit at room temperature for several hours, sometimes overnight. Eggs are easier to separate when cold, so if your recipe calls for egg whites or yolks, separate them right out of the fridge, then bring the eggs/yolks (or both) to room temperature separately in covered bowls.
To bring eggs up to room temperature quickly, I place whole eggs into a bowl of warm water and let it rest for 5-10 minutes. If you need warm up separated egg white or yolks quickly, submerge the bowl they are in into a larger bowl filled halfway with warm water for 5-10 minutes.
If you have leftover egg whites, you can refrigerate them in a covered container. For longer storage, use an ice cube tray, with one egg white in each cube, to freeze egg whites. Once frozen, transfer the frozen egg white cubes to a freezer bag. Thaw the egg white cubes in the refrigerator when you are ready to use them.
Leftover egg yolks are a bit trickier. Despite reading that you can store yolks by mixing them with a bit of sugar or salt before freezing, I have found that the frozen yolks are quite lumpy when thawed out. Covering yolks with water and storing them in a covered container in the refrigerator for a couple days is always an option, but you risk the yolks breaking in the water. So when it comes to egg yolks, as much as it pains me, I feel that it is best to either use them or lose them.
Source: siftandwhisk.com (defunct blog)


