Happy New Year!
Wait, what? I’m a week late? Okay, I totally know, but I have a really good excuse. I am a Christmas baby. Well, not technically Christmas. My birthday is December 27th. It’s close enough that my parents gave me the middle name Noel.
As such, my “holiday hangover” lasts a little while longer than most people’s. I’m not talking literal hangovers, either; I just turned 24, not 21. I just mean that while Christmas is typically one day or maybe a long weekend, I’ve found that my birthday can last for up to two weeks, because everyone wants to take me to lunch and come over and give me gifts and shower me with praise. Seriously. My life is so hard.

Anyway, because of my extended holiday hangover, my “resolutions” always get pushed back a bit. Why am I using digital air quotes for “resolutions”? Because I don’t believe in them. I believe in goal setting, and I think it’s natural that after the madness of the holidays, people set goals to get things back to normal. For me, it’s just a coincidence that a new year corresponds with these goals. One of my goals was to start writing in this newly founded blog as soon as the holidays were over. And since the last birthday lunch has been had, it’s time to get real.

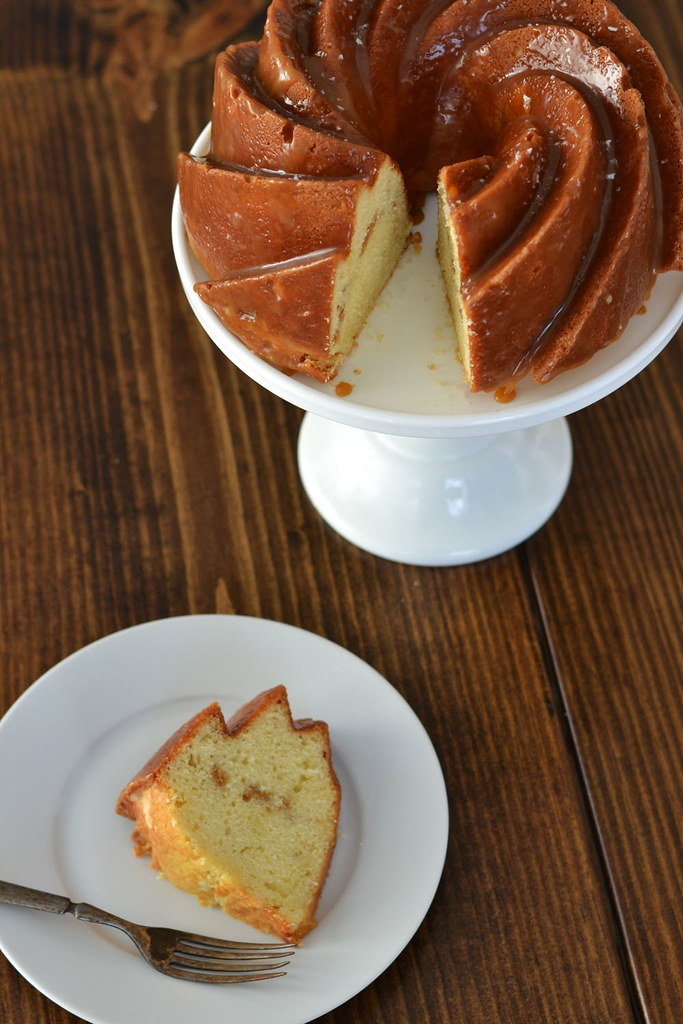
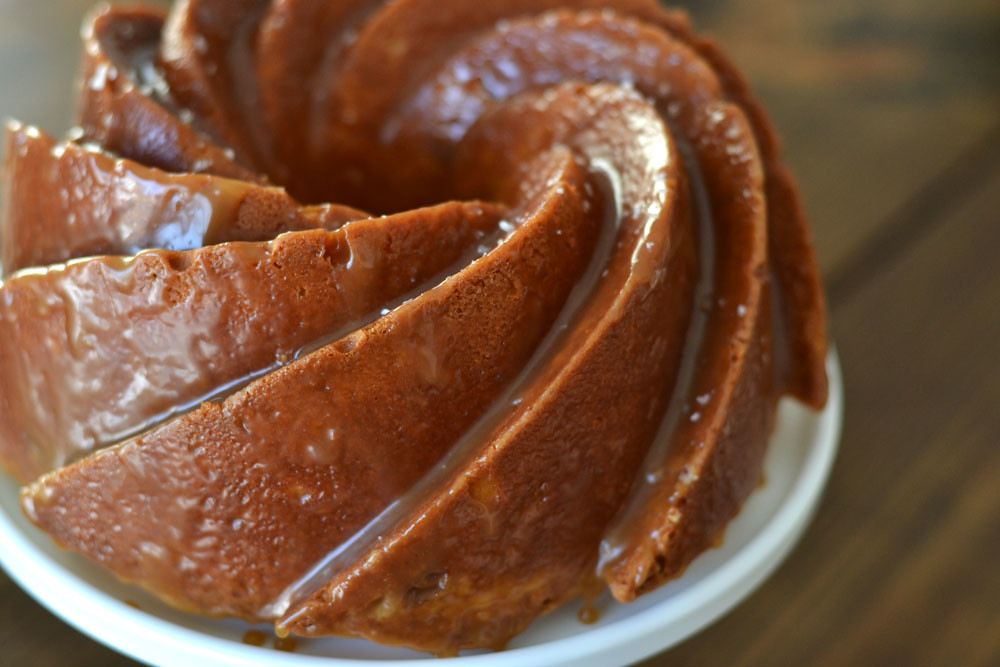
One of my favorite gifts from Christmas was the Heritage Bundt Pan that I’ve been coveting since I bought Vintage Cakes this fall. I may or may not have threatened my family members with what I would do to them if I didn’t get this pan—which is well within my own budget, I might add. I spent hours and hours carefully choosing my pioneer cake in this glorious pan and finally settled on a recipe I had pinned a few months ago.
It was a great first cake of the year, and I had lots of people to test it, what with all the birthday hullabaloo. I loved the flavor, but I wanted more toffee (everyone said it was fine), and I thought it was just a tad dry, because I left it in a bit too long (everyone said it was fine). I may need to add “Stop Being Hypercritical” to my non-existent list of New Year’s Resolutions.

SALTED CARAMEL TOFFEE VANILLA BEAN BUNDT
- 3 cups (360 grams) all-purpose flour
- ½ teaspoon baking powder
- ½ teaspoon baking soda
- ½ teaspoon salt
- 1 cup (227 grams) unsalted butter, room temperature
- 1¾ cup (350 grams) granulated sugar
- 4 large eggs, room temperature
- 1 vanilla bean, split, seeds removed (save the pod!)
- 1 cup (240 grams) sour cream
- ¼ cup toffee chips (like Heath’s Bits ‘O Brickle™—not the kind with chocolate!)
- 1 cup (200 grams) sugar
- ¾ cup (175 grams) heavy cream
- 4 tablespoons (60 grams) butter
- Vanilla bean pod from above
- Sea salt of your choosing
- Preheat the oven to 350°F and place rack in the center. Grease and flour the inside of your Bundt pan, or brush your pan with Cake Magic.
- In a large bowl, whisk together flour, baking powder, baking soda, and salt and set aside.
- In the bowl of a standing mixer fitted with a paddle attachment, beat butter at medium speed for about 2 minutes, until creamy. Reduce speed to low and gradually add sugar, then increase speed to medium-high and beat until the mixture is light and fluffy, about 3 minutes. Reduce mixer speed and add eggs one at a time, beating until incorporated after each addition, scraping the sides of the bowl as needed. Add vanilla bean seeds, beating so that they are evenly dispersed and making sure no globs of seeds stick to the paddle.
- With the mixer on low speed, alternate additions of dry ingredients and sour cream, starting and ending with the flour mixture. After the last of the flour has been added, stir the batter with a spatula a couple times to incorporate any flour that may be stuck to the sides or bottom of the bowl.
- Pour half of batter into your Bundt pan, sprinkle toffee chips over the batter, then add the remaining cake batter, spreading evenly with a spatula. If your Bundt pan has an intricate design, it may help to rap your pan firmly on the counter a couple times, as the batter is thick, and you’ll want to make sure it gets into all the edges.
- Bake cake for 50 to 60 minutes, or until a toothpick or cake tester comes out clean. Cool on a cooling rack for 10 minutes, then invert onto another cooling rack to cool completely.
- While the cake is baking (or while it’s cooling), prepare your caramel. Measure out your cream and butter and have them at the ready by the stove. Add sugar to a 2 to 3 quart sauce pan* and heat over medium high heat. Move the sugar around with a heat proof spatula or a wooden spoon so that it doesn’t burn to the bottom of the pan. The sugar will start to liquefy, then turn brown. Once all the sugar crystals are dissolved and the liquid is amber in color, add the butter and whisk vigorously until the butter is melted. Remove the pan from the heat, and slowly pour in the cream, whisking with your other hand. Whisk until everything comes together and stops bubbling, then pour into a jar to cool. Insert vanilla bean pod into caramel to infuse it with vanilla flavor.
- After the cake and caramel have cooled for at least an hour**, place the cake, on the cooling rack, over a baking sheet lined with parchment paper (for easy clean up). Drizzle the caramel sauce over the top of the cake. For more complete coverage, use an offset spatula to spread the drizzled caramel into all the nooks and crannies. Sprinkle the top of the cake with sea salt. Carefully move cake from the cooling rack to a serving plate or cake stand, and serve it up!
- If you have leftover caramel, be sure to scrape up whatever is left from the parchment paper and put it back in the jar, then store in the refrigerator.
- *Stainless steel pans work best for caramel because they allow you to see the color of the caramelized sugar much better than dark nonstick pans. A saucier, with its curved edges, is a great option to replace a sauce pan in this instance, because it’s easier to whisk without things getting stuck in the corners of the pan.
- **If you let the caramel sit for a while and it gets too thick to pour, just pop it in the microwave for a few seconds until it is pourable again.


