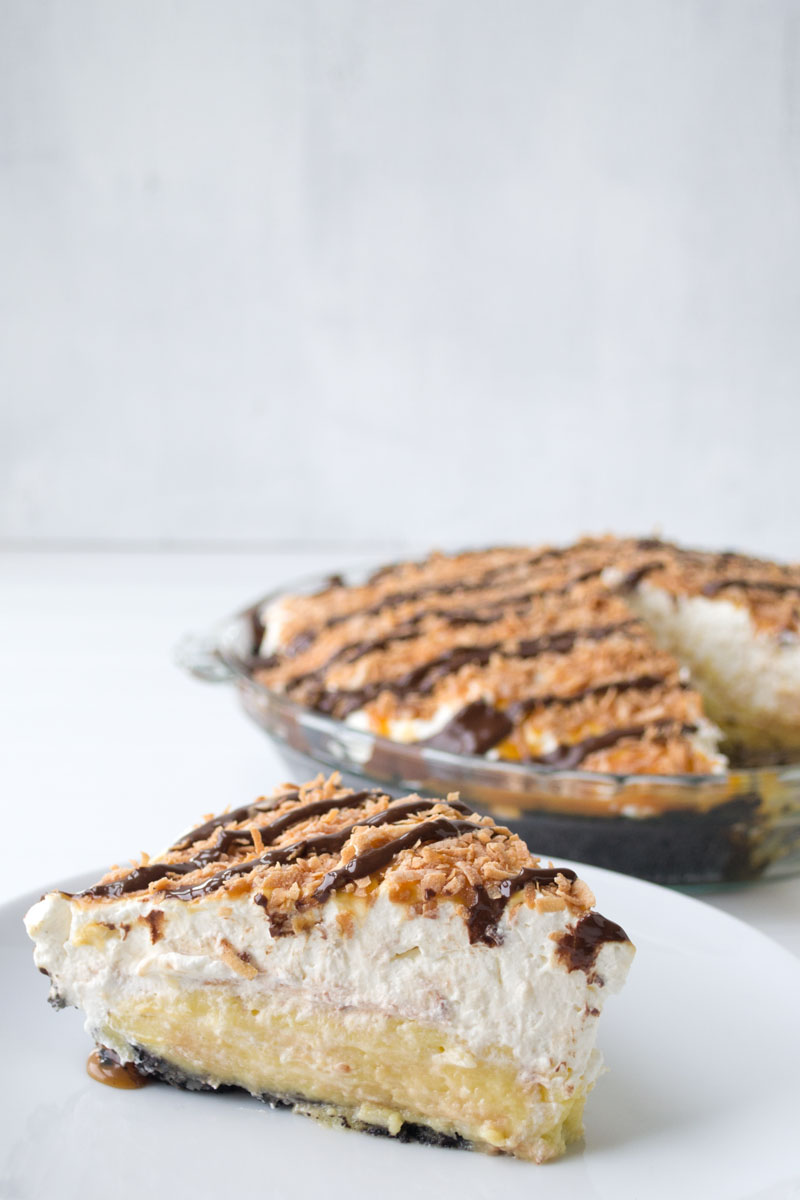
First of all: Happy Pi Day! I know it’s not really Pi Day today, but it is in a few days, and I wanted to give you this recipe to celebrate. Now you have enough time to run out and buy coconut, coconut milk, and Oreos. All the necessities in life.
Second of all: I found out some pretty amazing news on Thursday and I’ve been dying to share it with you guys. Because remember back in January when I was like “Blah blah I’m pregnant blah”? Well, that’s still going on. And we got to find out the sex of the baby last week! So without further ado, here we go:
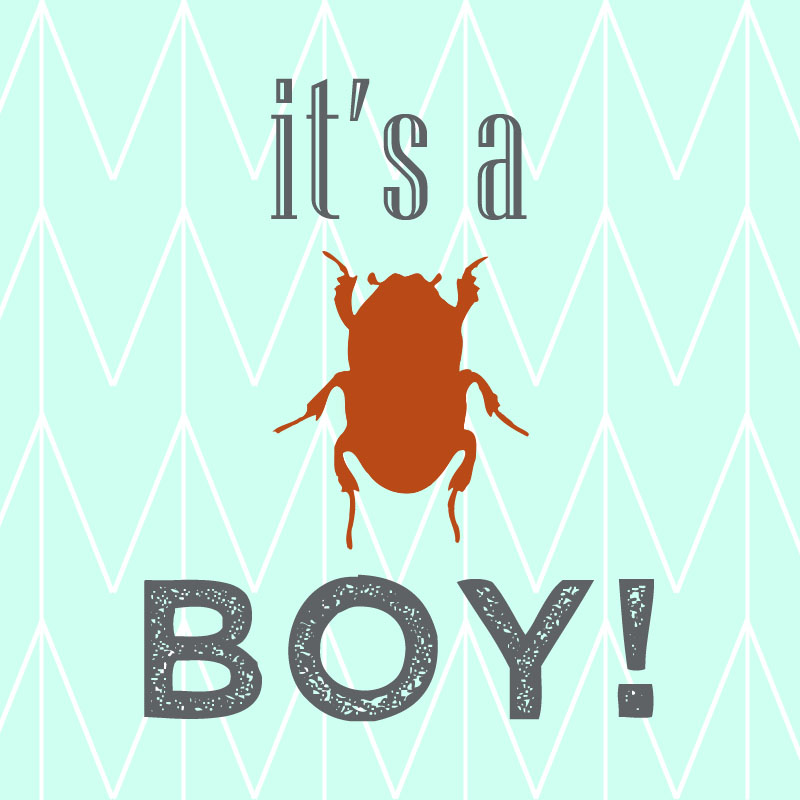
I now return you to your regularly scheduled food porn. But I’m still going to talk about the fact that in five months I am going to have a son! I am really hoping he looks exactly like his dad. Because my husband is a total cutie now, but you should have seen him when he was a kid. Ohhhmygosh. Adorable. I can’t. even. take it whenever his mom sends me old pictures of him in my email. I just flop off the couch onto the floor and hold my face because I think it’s melting off from the cuteness.
I have been planning our nursery since before I even conceived. I knew that I was doing a nature/insect theme from the get-go because I have a framed butterfly Phillip got me as an anniversary gift from Bug Under Glass, and I absolutely love it. I tried to look up bug-themed nurseries online, but most of them are cartoonish bugs, and I’m going more for a natural history museum vibe. I figured my kid can totally be into bugs regardless of sex.
I had bought a few pieces of art, some wall decals, the crib, and the dresser, but I was holding off doing anything drastic until I found out the sex. Because despite my best efforts to be gender neutral, I am still a part of the society we live in and knew that I would either femme or butch things up, depending on what was between my child’s legs. I had already kind of been designing for a girl, if I’m being honest. The accent color to the mint green and grey nursery would have been gold. I even had some gold art pieces. But as soon as my baby flashed me on that ultrasound, I knew it was time to take them back.
I spent the next two days in a Pinterest/e-shopping trance and decided on a rusty burnt orange as an accent color. And consequently bought a rug and an ottoman. Friday night, I dragged my mom out and bought my rocker, which my friends at FrontRoom Furnishings hooked me up with. (I used to work there, and I wish I still had my discount! But the prices are still amazing. Pottery Barn style at half the cost.) I can’t even express my excitement about this rocker. I picked out the softest ever fabric… in white. Hahaha, silly first-time mom. You so crazy. It’s okay, I got the fabric protection. I am no stranger to white furniture.
My extremely wise cousin said, “Nothing changes everything and absolutely nothing quite like finding out the gender of your baby.” I wasn’t sure exactly what that meant until now that I’m trying to describe my feelings about having a boy. On the one hand, I still hope for qualities I would for a girl: intelligence, kindness, confidence, a good sense of humor. But it’s also like woah, because I now have this visual of what my life will be like for the next several years. It was hard to picture before because I was just imagining this nebulous child-thing sleeping in the crib or baking with me in the kitchen. Now I know that it will be a little boy who I get to teach the ways of flour and sugar! Yes, I intend on forcing my child to enjoy baking.
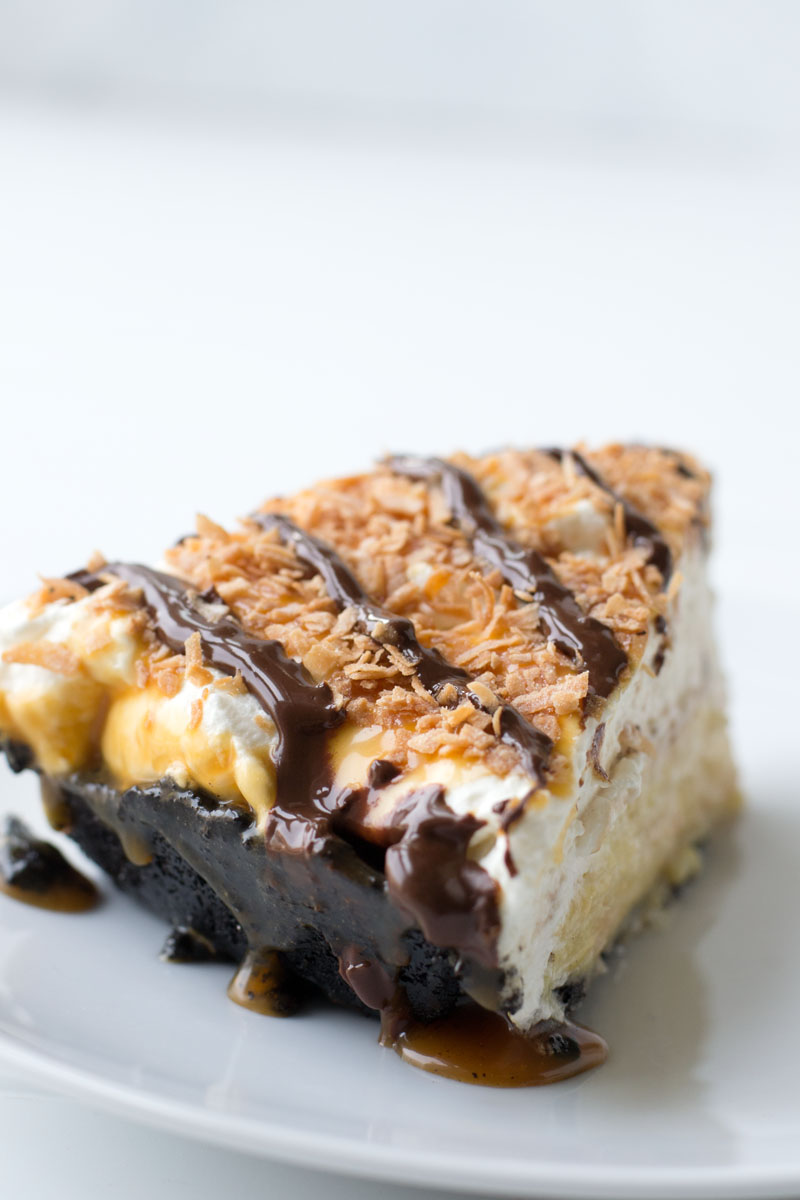
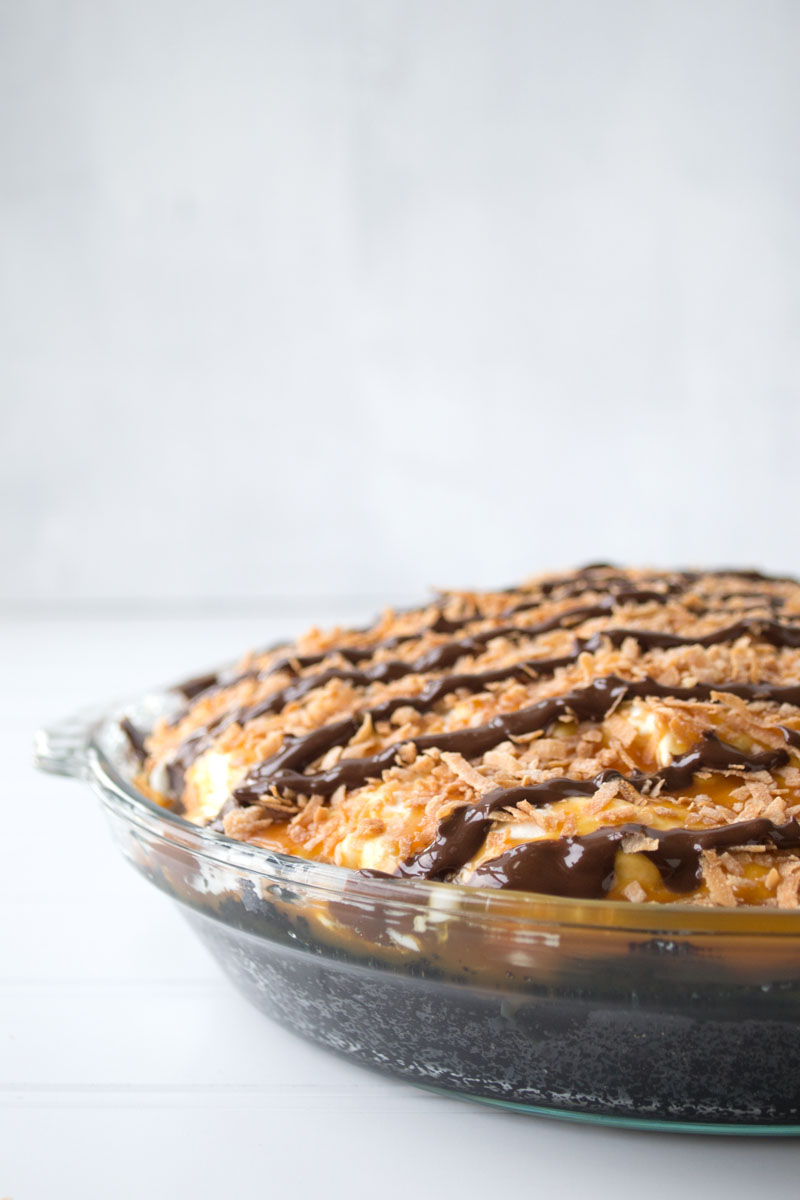
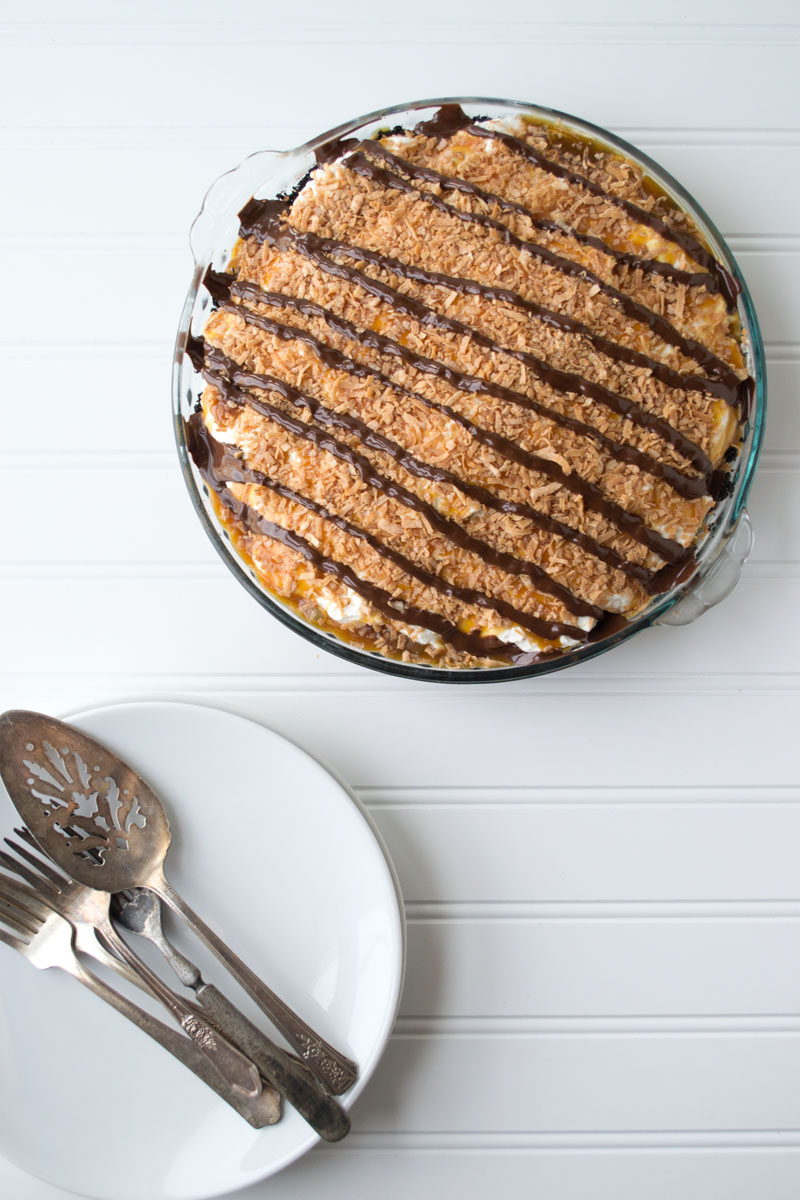
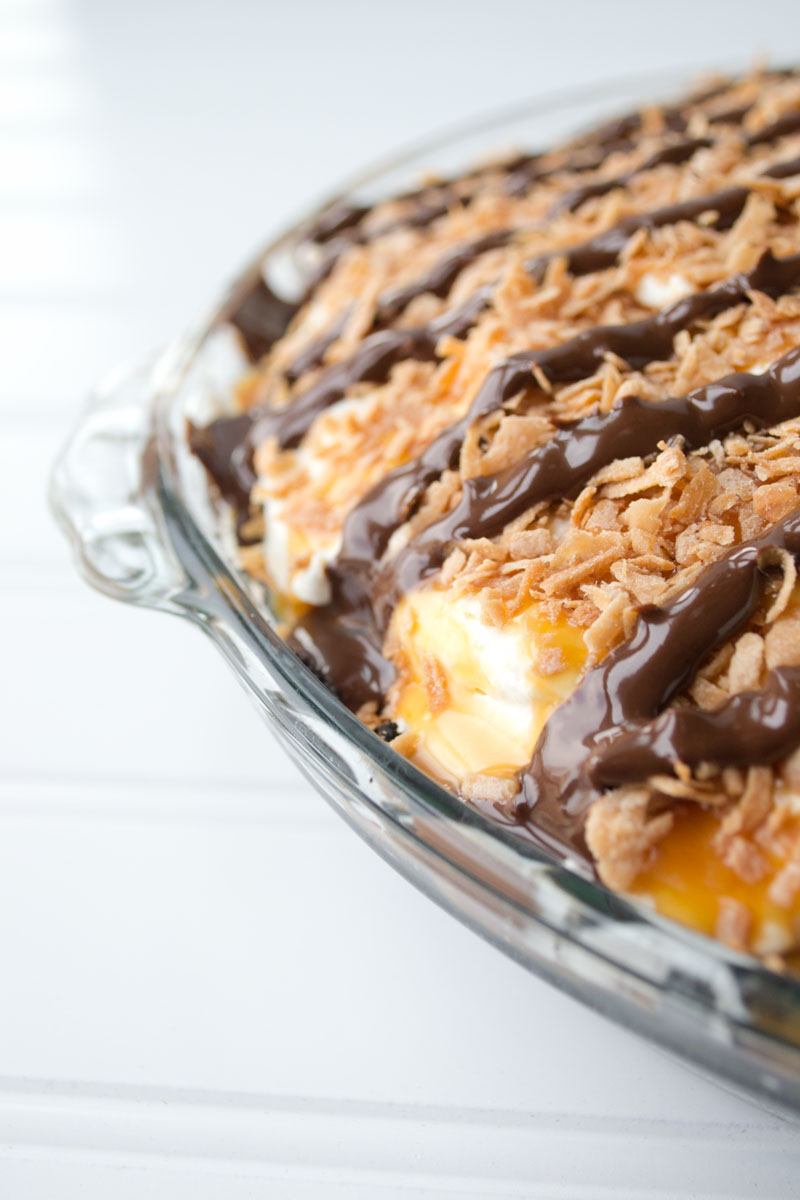
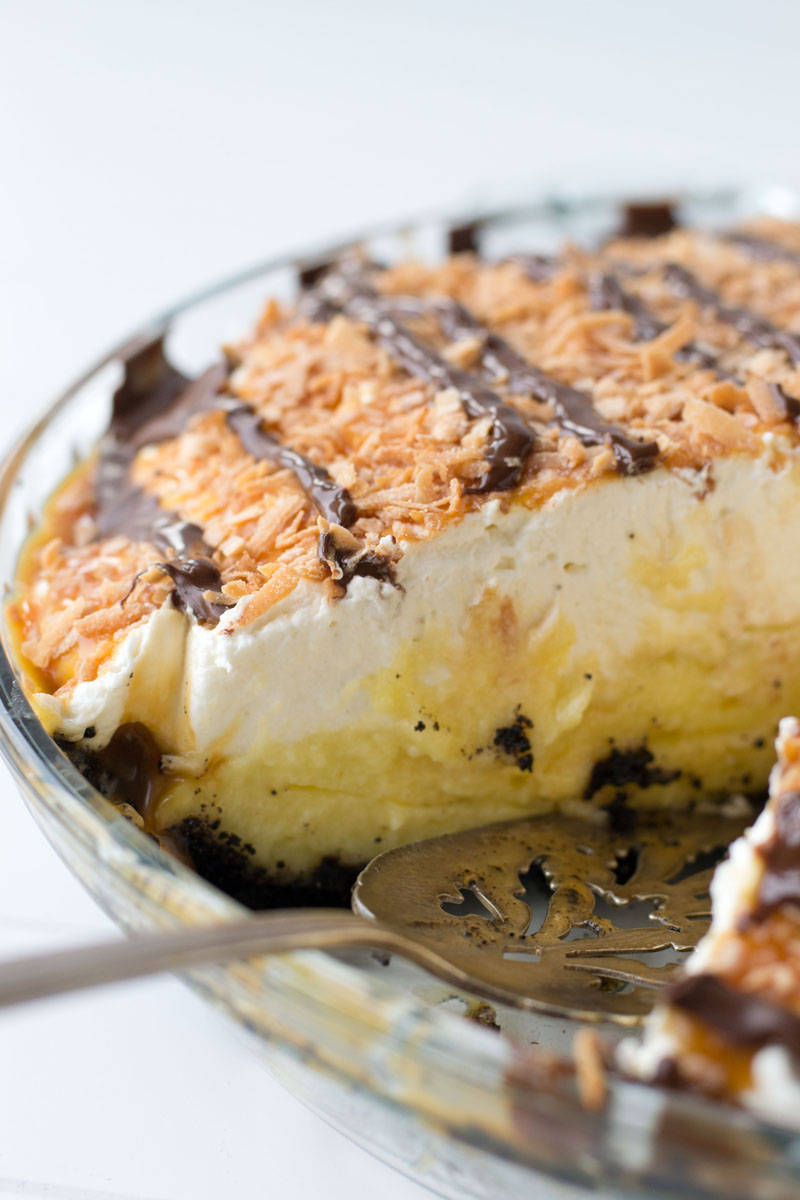
I could totally have him help me with this pie, since I certainly intend to make it again. Funny how Pi Day falls smack dab in the middle of Girl Scout cookie season and not in a month where there are gorgeous berries all around. But I can’t be that bummed out about the lack of seasonal fruit when I have this pie chillin’ (literally) in my fridge. I stupidly only got one box of Samoas from my friend’s kid, and now I’m like some kind of junkie, prowling outside grocery stores looking for a troop to sell me some of the good stuff. Since they are being negligent little 8-year-olds, I had to resort to a mock-Samoa dessert. I’m feeling pretty arrogant about how great it turned out.
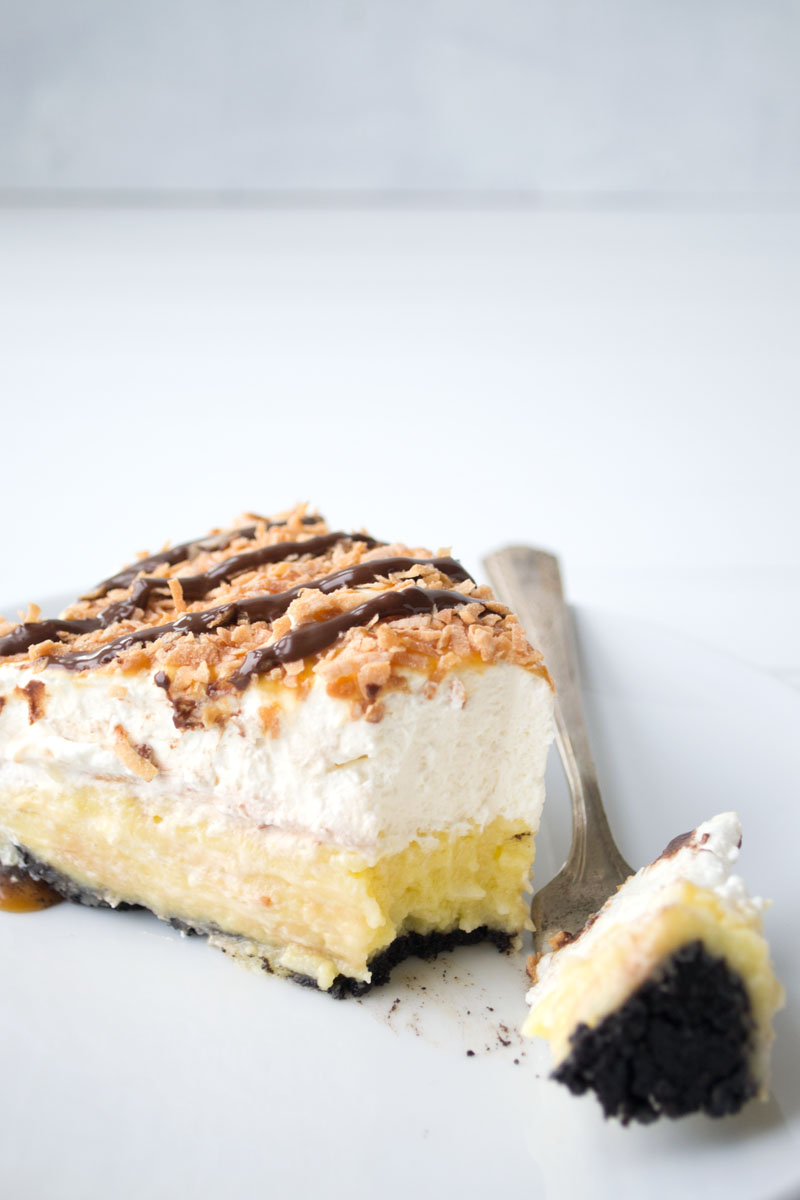
By all means, go to a grocery store that has chocolate wafer cookies. I was too lazy to visit another grocery store and ended up scraping the filling out of Oreos with a fork. My husband caught me spooning the scrapings into the center of another cookie (Quadruple Stuf, anyone?) and sighed, “There is no hope for our child.” Poor little guy. (Dear doctor and mother-in-law: I ate broccoli for dinner. Calm down.)
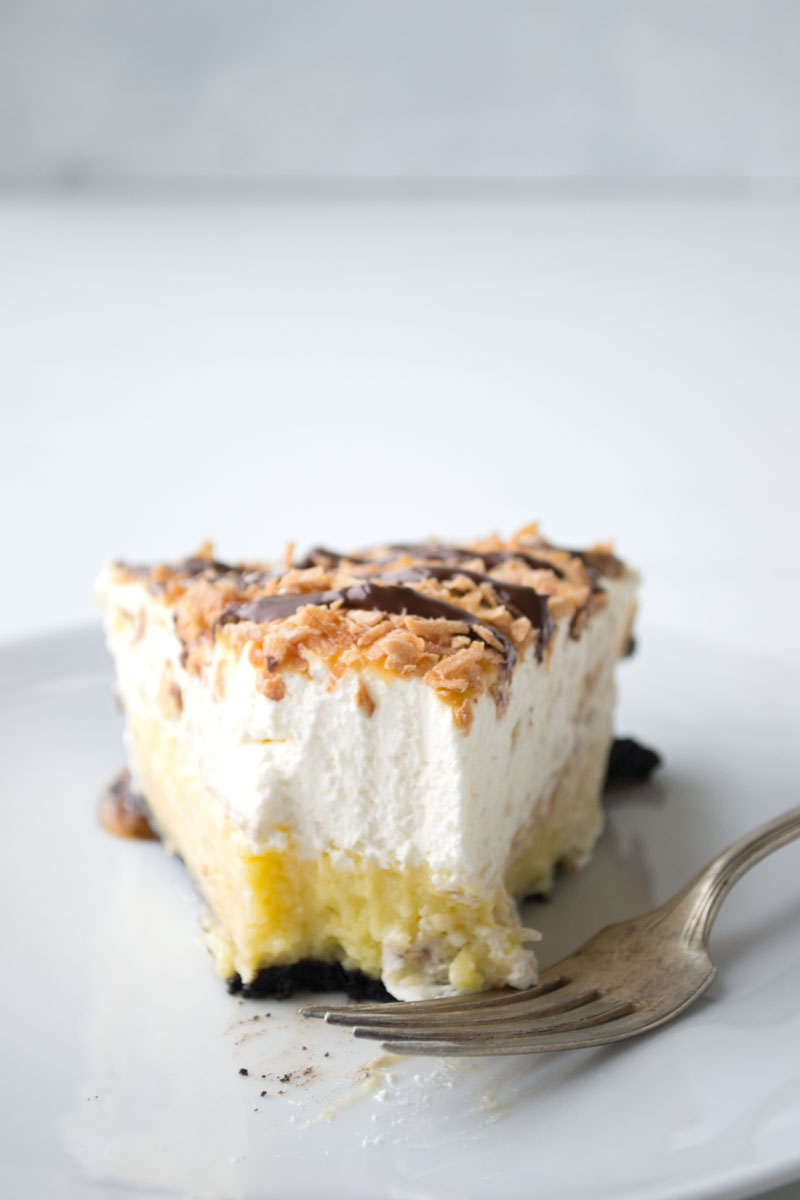
SAMOA COCONUT CREAM PIE
- 20-24 chocolate wafer cookies (140 grams)
- 5 tablespoons (70 grams) unsalted butter, melted
- 3 tablespoons (40 grams) granulated sugar
- 1 (13.5-14 ounce) can unsweetened coconut milk
- 1 cup (235 grams) whole milk
- ⅔ cup (130 grams) granulated sugar, divided
- ½ cup (35 grams) unsweetened coconut flakes
- ¼ teaspoon salt
- 5 egg yolks
- ¼ cup (40 grams) cornstarch
- 2 tablespoons (30 grams) unsalted butter
- 1½ teaspoon vanilla extract
- 1 cup (200 grams) granulated sugar
- ¾ cups (175 grams) heavy cream
- 4 tablespoons (60 grams) unsalted butter, cubed
- 1½ cups (350 grams) heavy cream
- 2 tablespoons (25 grams) granulated sugar
- 1 teaspoon vanilla extract
- ½ cup (40 grams) sweetened coconut, toasted
- 1 cup (170 grams) bittersweet chocolate chips (or chopped chocolate)
- 1 tablespoon coconut oil (or vegetable shortening)
- Preheat oven to 325°F. Pulse chocolate cookies in the bowl of a food processor until finely ground. Add melted butter and sugar and pulse until mixture starts to stick together, like wet sand. Dump into a 9-inch pie pan and use your fingers to press the crumb mixture evenly across the bottom and up the sides of the pan. Bake for 15 minutes, then transfer to a wire rack to cool completely.
- In a medium saucepan, whisk together coconut milk, milk, ⅓ cup (65 grams) sugar, coconut flakes, and salt. Bring to a simmer over medium heat.
- While the milk mixture is heating, whisk together egg yolks, cornstarch, and remaining ⅓ cup (65 grams) sugar in a medium bowl until smooth. The eggs will clump up at first, but keep whisking and it will all come together. You should be able to lift your whisk and having the egg mixture come off in silky ribbons.
- When the milk mixture is simmering, slowly ladle about 1 cup of the milk mixture into the eggs, whisking constantly with your opposite hand. Pour the tempered egg mixture back into the saucepan with the simmering milk and whisk for 30 seconds over medium heat, until the mixture begins to thicken and sputter a bit. Remove from heat and stir in butter and vanilla extract until everything is combined.
- Stir the custard occasionally for the next five minutes while it cools to prevent a skin from forming. Pour into your cooled pie shell. Press plastic wrap against the top of the custard, and place the pie pan into the refrigerator to cool for 2-4 hours.
- While the pie is cooling, make the caramel sauce. Measure your butter and cream and place them near the stove. Pour sugar into a medium saucepan and place over medium heat. Stir and move the sugar around frequently with a wooden spoon or heatproof rubber spatula. The sugar will start to clump up, then liquefy. Keep stirring it until all the clumps of sugar have dissolved and become an amber-colored liquid. At this point, add the butter and whisk vigorously until combined. Remove the pan from the heat and whisk in heavy cream until it the mixture becomes uniform and stops bubbling.
- Transfer caramel sauce to a bowl or jar to cool at room temperature. It will thicken as it cools.
- When your pie and caramel sauce have cooled, make the whipped cream. Combine heavy cream, sugar, and vanilla extract in the bowl of a stand mixer fitted with the whisk attachment. Whisk on medium-high speed until light and fluffy and somewhat sturdy.
- Pile whipped cream on top of the custard and gently distribute with a rubber spatula or the back of a spoon. Drizzle caramel sauce over the whipped cream, covering as much of the surface as possible. (If the caramel is too thick to pour, heat it up slightly in the microwave.) Sprinkle the top with toasted, sweetened coconut.
- In a microwave-safe bowl, combine chocolate chips and coconut oil. Heat in the microwave, stirring every 20 seconds, until the chocolate is melted. Drizzle over the top of the pie. Chill for 10 minutes, then serve. Keep leftovers chilled in the refrigerator, covered.


